Mastering Authentic Moroccan Khobz: Solving the Crust and Crumb Conundrum
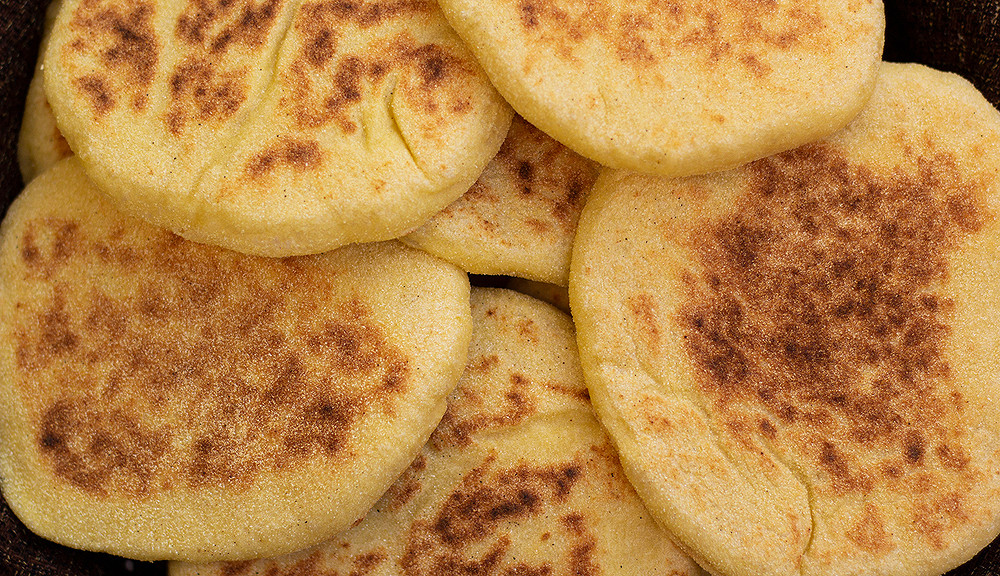
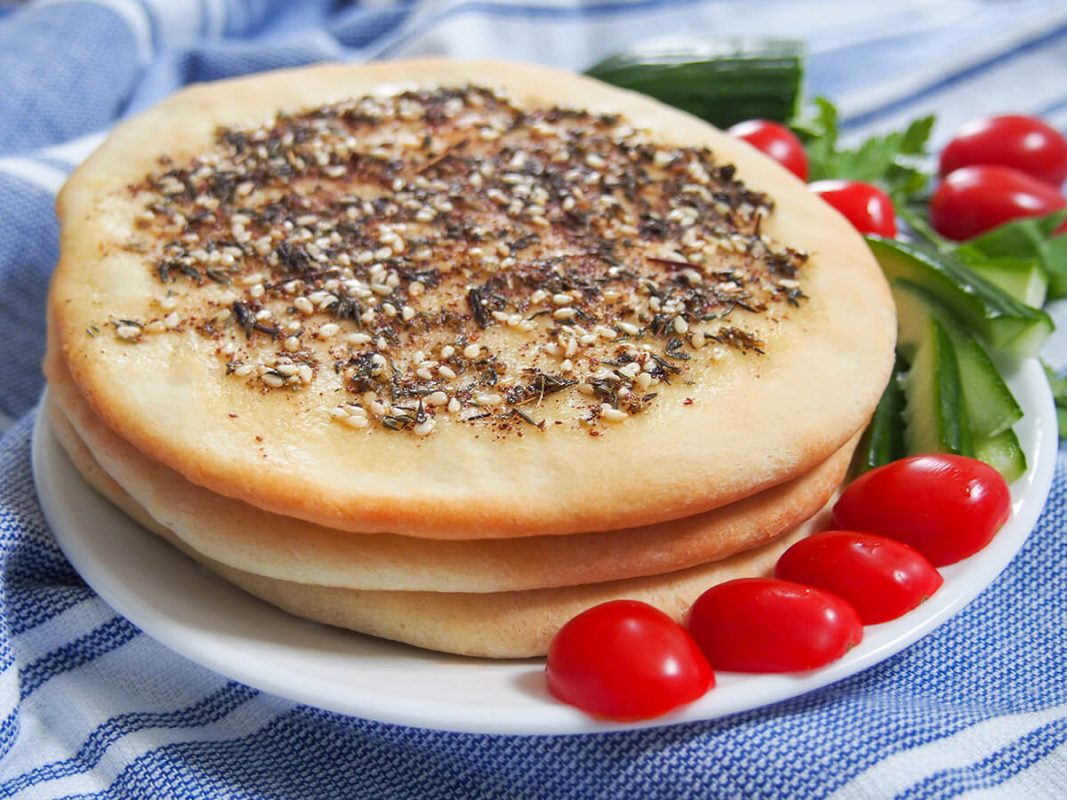
The allure of freshly baked bread is universal, but few loaves rival the sensory experience of traditional Moroccan Khobz (or Kesra). I still remember the first time I tasted this masterpiece on a bustling market street in Marrakech. That perfect Khobz is a symphony of textures: the compelling aroma of warm wheat, the satisfying crunch of its golden crust, and the incredibly tender, airy interior. It was an experience that fundamentally transformed my understanding of what a simple flatbread could be.
Yet, replicating this authenticity and balance in a standard kitchen is often where the dream turns frustrating. Many passionate home bakers encounter specific obstacles when attempting this classic recipe, leading to disappointing results:
- The dough proves too sticky or difficult to handle during the delicate shaping process.
- The final crust ends up too hard, lacking the characteristic subtle chew.
- The crumb structure is dense, failing to achieve that elusive, desirable lightness.
If you have ever faced these challenges, you are not alone. The journey from humble ingredients to a culinary masterpiece requires not just a recipe, but a deep understanding of the science and soul behind the bread.
Achieving Professional Precision with High-Quality Equipment
As a master baker and food scientist, I’ve learned that achieving that elusive balance of crispness and tenderness is less about luck and more about precision. Every stage, from the exact hydration levels to the consistency of the oven temperature, plays a vital role. Precision in preparation and quality in baking tools are the critical components that elevate a simple dough to extraordinary heights.
This is where the right tools make the entire difference. Whether you are an enthusiast seeking reliability or a professional scaling operations, reliable equipment simplifies complex tasks and ensures consistent results. Companies like MBICO, a leading manufacturer of high-quality bakery equipment, truly empower bakers to achieve professional results, providing the stability and control necessary to master traditional breads like Khobz.
By the end of this article, you will have a deep understanding of Kesra, its unique characteristics, and learn the exact techniques to apply it in your own kitchen, transforming your baking from good to truly exceptional.
The Soul of Moroccan Cuisine: Understanding Kesra/Khobz
Kesra, originating from Morocco, is far more than just bread; it’s a staple, a cultural cornerstone, and an essential companion to countless Moroccan dishes, most notably the aromatic tagine. Its distinctive character lies in its simplicity and profound satisfaction.
Key Characteristics: A Symphony of Texture and Flavor
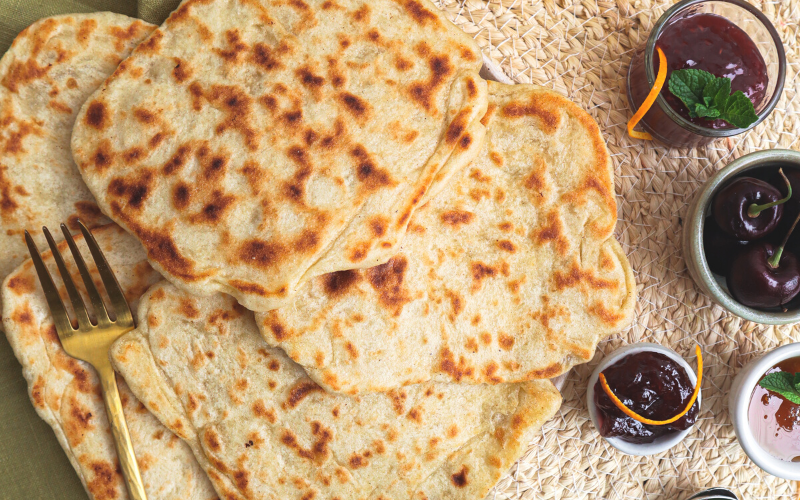
- Round Form: Traditionally shaped into a large, round disc, Kesra embodies a rustic charm.
- Crisp Crust: A hallmark of authentic Kesra is its delightfully crisp crust, often achieved through high-heat baking. This contrast beautifully with the tender interior.
- Tender Crumb: Despite the crisp exterior, the inside is typically soft and somewhat dense, perfect for soaking up the rich juices of a tagine.
Main Grain(s): The Heart of Kesra’s Identity
The foundation of Kesra lies primarily in Wheat and/or Semolina. While all-purpose wheat flour provides structure, the inclusion of semolina, particularly fine semolina, is crucial. Semolina, derived from durum wheat, contributes to Kesra’s unique texture – a slight chewiness and a subtle, almost nutty flavor. It also aids in creating that desired crisp crust. Understanding the protein content and hydration capacity of these flours is key to achieving the perfect dough consistency.
Type/Classification: A Leavened Flatbread with Character
Kesra falls under the category of a Leavened Flatbread. This means yeast is introduced to the dough, allowing it to rise and develop a softer texture and more complex flavor profile than unleavened breads. The fermentation process is critical; it’s where the yeast consumes sugars in the flour, producing carbon dioxide gas that gets trapped in the gluten network, creating those small pockets of air that give Kesra its tender crumb.
Crafting Your Own Kesra: A Master Baker’s Step-by-Step Guide
Having worked with countless doughs, I can tell you that the magic of Kesra lies in precise hydration and a confident hand. Here’s how to bring this Moroccan delight to your table:
-
- Activate Your Yeast: In a small bowl, combine warm water (around 105-115°F or 40-46°C), a pinch of sugar, and active dry yeast. Let it sit for 5-10 minutes until foamy, indicating the yeast is alive and ready to work.
- Combine Dry Ingredients: In a large mixing bowl, whisk together your all-purpose flour, fine semolina, salt, and any optional spices like anise seeds (a common addition for subtle flavor).
- Form the Dough: Pour the activated yeast mixture and olive oil into the dry ingredients. Mix with a spoon or your hands until a shaggy dough forms.
- Knead for Development: Turn the dough out onto a lightly floured surface. Knead for 8-10 minutes. The dough should become smooth, elastic, and less sticky. This process is vital for developing the gluten structure, which gives the bread its chewiness and ability to hold gas from fermentation.
- First Proof (Bulk Fermentation): Place the dough in a lightly oiled bowl, cover it with plastic wrap or a damp cloth, and let it rise in a warm place for 1 to 1.5 hours, or until doubled in size.
- Shape the Kesra: Gently deflate the dough and divide it into two or three equal portions. On a lightly floured surface (semolina works wonderfully here to prevent sticking and add a crisp texture), flatten each portion into a round disc, about 1/2 to 3/4 inch thick. For a traditional look, prick the surface with a fork several times.
- Second Proof: Cover the shaped discs and let them rest for another 30-45 minutes. This allows the dough to relax and develop a little more flavor.
- Bake to Perfection: Preheat your bakery oven to a high temperature, around 450-475°F (230-245°C), with a baking stone or heavy baking sheet inside. Carefully transfer the Kesra to the hot stone or sheet. Bake for 15-20 minutes, or until the crust is golden brown and crisp. For those seeking optimal crust development, specialized appliances like pizza and food ovens can often provide the intense, even heat required for perfect flatbreads.
- Cool and Serve: Transfer the baked Kesra to a wire rack to cool slightly before serving. Slice it into wedges and enjoy warm with butter, honey, or alongside your favorite tagine.
Elevating Your Flatbread Game: Advanced Techniques and Troubleshooting
True mastery comes from understanding not just the steps, but the nuances. Here are some insights from my years in the bakery:
The Role of Hydration: Wet Dough, Wonderful Crumb
Many traditional flatbreads, including Kesra, benefit from relatively high hydration. A wetter dough yields a more tender, open crumb. Don’t be afraid if your dough feels sticky during kneading; a little extra semolina on your work surface can help, but resist the urge to add too much flour, which can lead to a dry, dense result. Think of it as developing a “baker’s touch” – learning to work with the stickiness rather than against it.
Achieving the Ideal Crust: Heat is Your Friend
That signature crisp crust of Kesra demands high, consistent heat. Preheating your oven thoroughly and using a baking stone or steel are game-changers. The intense heat causes rapid expansion and crust formation, preventing the bread from drying out before the interior cooks. A common pitfall is not allowing the oven to fully preheat, resulting in a pale, soft crust.
Troubleshooting Common Kesra Woes:
-
-
- Too Dense? Likely under-kneaded, under-proofed, or too much flour added during kneading. Ensure your yeast is active!
- Not Crispy? Oven not hot enough, or baked on a cold pan. Use that preheated stone!
- Dry or Tough? Over-baked, or too little hydration in the dough.
-
Investing in quality bakery equipment, from precision scales to robust mixers, can significantly improve consistency and reduce baking frustrations. Professional tools are designed to handle doughs efficiently and consistently, providing a foundation for excellent results every time.
Conclusion
Kesra, with its humble ingredients and profound cultural significance, offers a rewarding baking experience. By understanding the interplay of wheat and semolina, the science of leavening, and the critical role of high-heat baking, you can recreate this Moroccan masterpiece in your own kitchen. Remember, baking is a blend of art and science, requiring both technical precision and intuitive feel.
This weekend, I challenge you to try adjusting your Kesra dough’s hydration by just 2% and observe the difference in the crumb. Or, experiment with different ratios of wheat to semolina. Pay close attention to how the dough feels and reacts – that’s where the true learning happens. Happy baking!


